
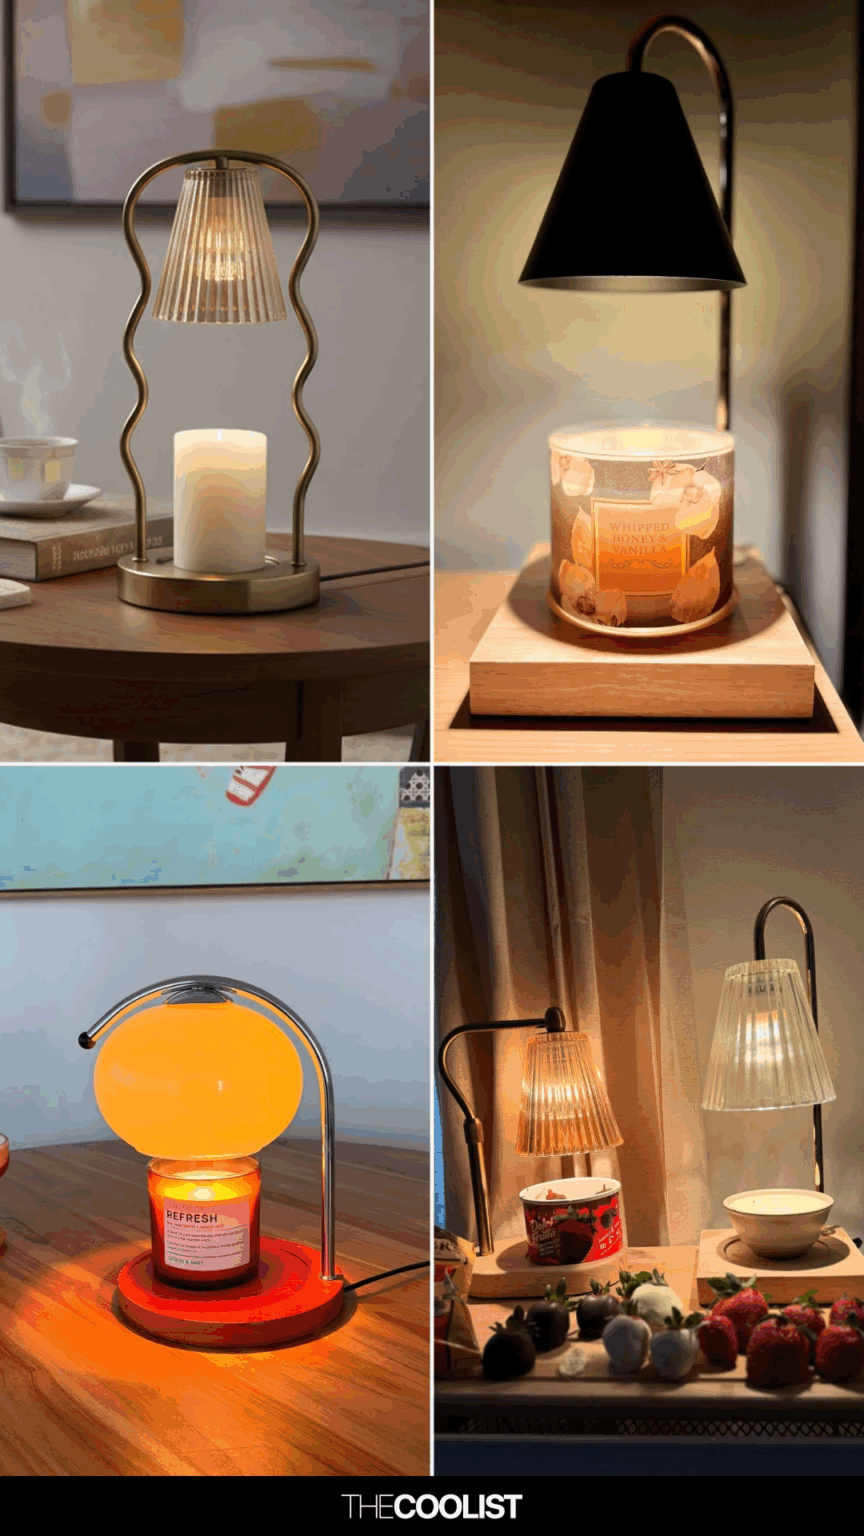
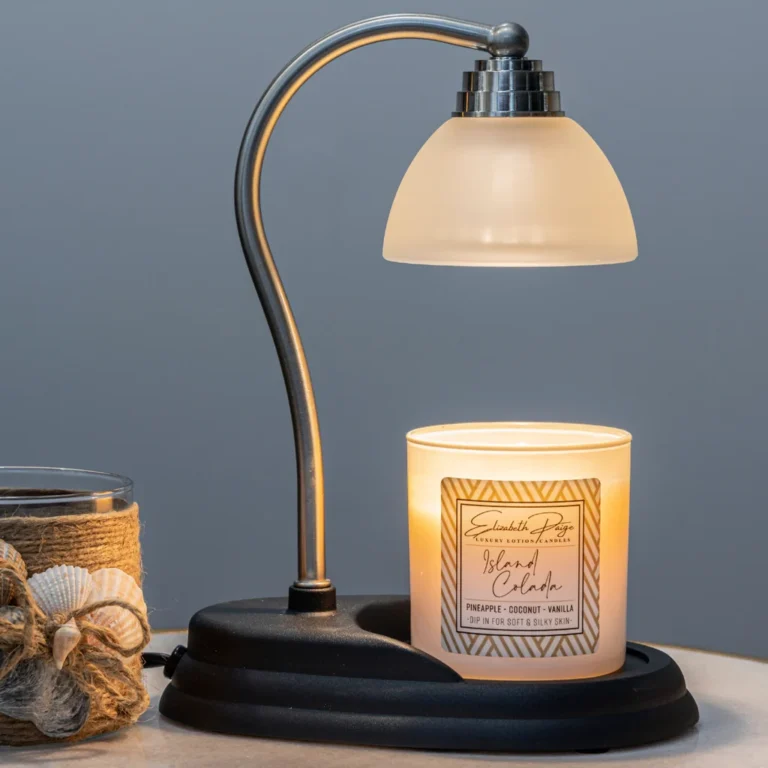
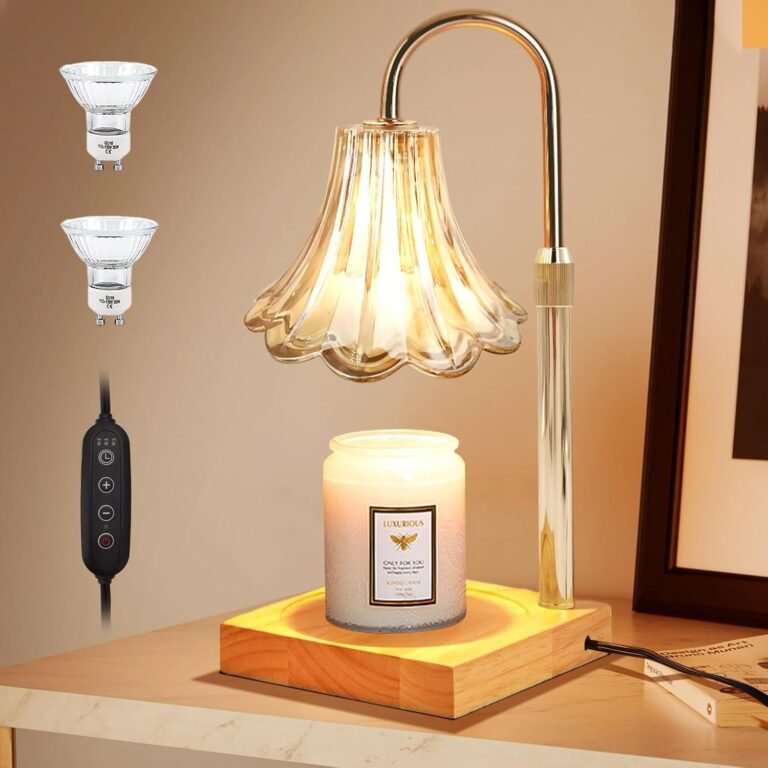
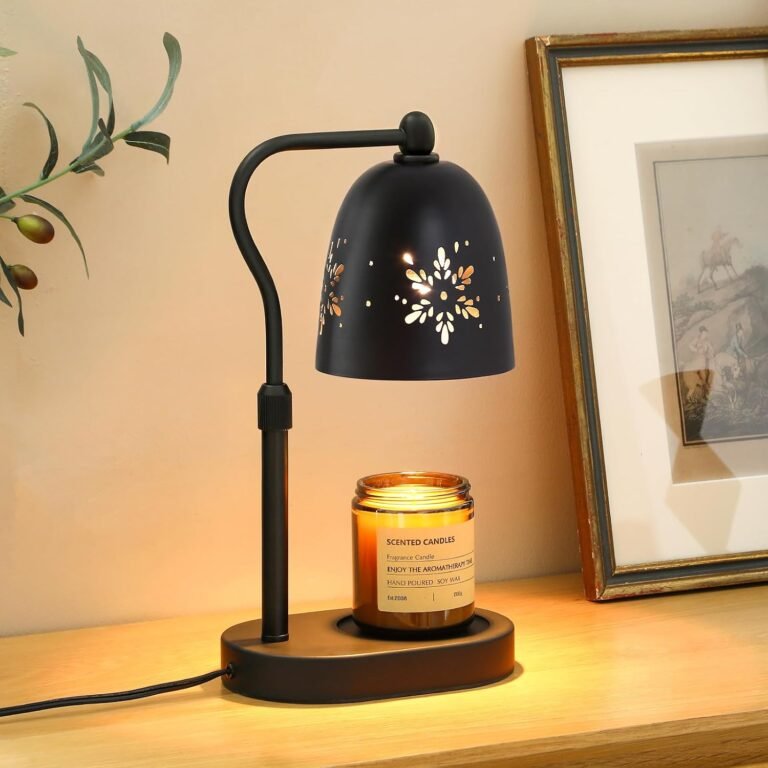
A candle warmer lamp melts candle wax with heat from above instead of using an open flame. In a U.S. home, the safest way to make one is to assemble a heat-rated lamp with an adjustable arm, a suitable heat-producing bulb, and a stable base. Do not rewire a lamp or use a random high-wattage bulb in a shade that was not made for heat.
A homemade candle warmer lamp can reduce soot and remove the flame, but it is not fireproof. The bulb, shade, candle jar, and wax can still become hot. Use the lamp only while you are awake and nearby.

What You Need to Make a Candle Warmer Lamp
You need a stable lamp, a heat-rated light source, and a way to keep the bulb safely above the candle. The parts below work for a simple U.S. 120-volt setup.
Basic parts
| Part | What to look for | Why it matters |
|---|---|---|
| Adjustable desk lamp | Heavy base and adjustable neck | Keeps the heat centered over the candle |
| Heat-rated socket | Ceramic or another socket rated for the bulb | Handles heat better than a low-quality plastic socket |
| Heat-producing bulb | Halogen or incandescent bulb approved by the lamp maker | Provides heat to melt the wax |
| Metal or glass shade | Open design with good heat clearance | Helps direct heat without trapping it |
| Candle in a sound jar | Thick glass with no cracks or chips | Holds the melted wax safely |
| Timer or smart plug | Rated for the lamp’s electrical load | Helps limit run time |
| Ruler or measuring tool | Any simple measuring tool | Helps set a safe starting distance |
| Nonflammable tray | Ceramic, metal, or stone | Catches small wax drips and protects the surface |
The lamp should have a cord, plug, and socket that are already assembled and in good condition. A lamp with a damaged cord, loose plug, cracked socket, or missing strain relief should not be used.
Choose the bulb carefully
A candle warmer lamp needs a bulb that produces heat. Most LED bulbs are designed to stay cool, so they usually will not melt candle wax well.
Use only a bulb that matches the lamp’s:
- Socket type
- Maximum wattage
- Voltage
- Bulb shape
- Shade and enclosure rating
For a typical U.S. household, the lamp will use 120 volts. The bulb should also be rated for that voltage. Never exceed the maximum wattage printed on the lamp socket or label.
A low-wattage halogen bulb may produce strong heat in a small area. An incandescent bulb may work more slowly. The correct choice depends on the lamp design and the distance between the bulb and the candle.
How to Assemble a Candle Warmer Lamp
The safest DIY method is to use a complete, listed lamp and position it over the candle. Do not build the electrical circuit from loose household wiring unless you are qualified to do so.
1. Inspect the lamp
Unplug the lamp and check the entire unit before use.
Look for:
- Frayed or cut insulation
– A loose plug - Bent plug pins
- Cracks in the socket
- A wobbly base
- Missing screws
- A damaged switch
- Signs of scorching or melted plastic
Do not repair a damaged lamp with tape and continue using it. Replace the damaged part or use another lamp.
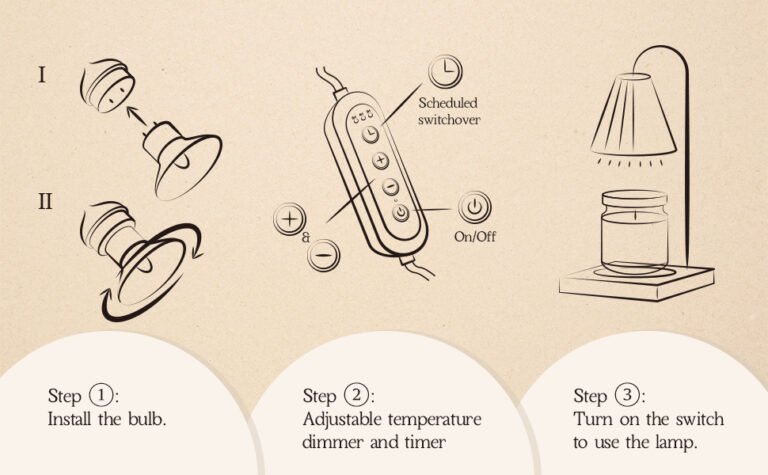
2. Fit the correct bulb
Read the label on the socket. Install a bulb with the correct base and wattage.
The bulb should fit firmly. It should not wobble, touch the shade, or sit against any part of the candle jar. Keep the lamp unplugged while installing the bulb.
Do not use:
- A bulb above the lamp’s maximum wattage
- A heat lamp in a socket not rated for it
- A bulb with a damaged glass envelope
- A bulb that touches paper, cloth, plastic, or wood
- A bulb inside a closed shade unless the lamp is rated for that use
3. Add a heat-directing shade
A shade can help direct heat down toward the candle. Choose a metal or heat-resistant glass shade with open air space around the bulb.
The shade must not touch the candle jar. It must also leave room for heat to move away from the socket and cord.
Avoid fabric, paper, foam, thin plastic, and decorative materials that can soften or ignite.
4. Place the candle on a stable surface
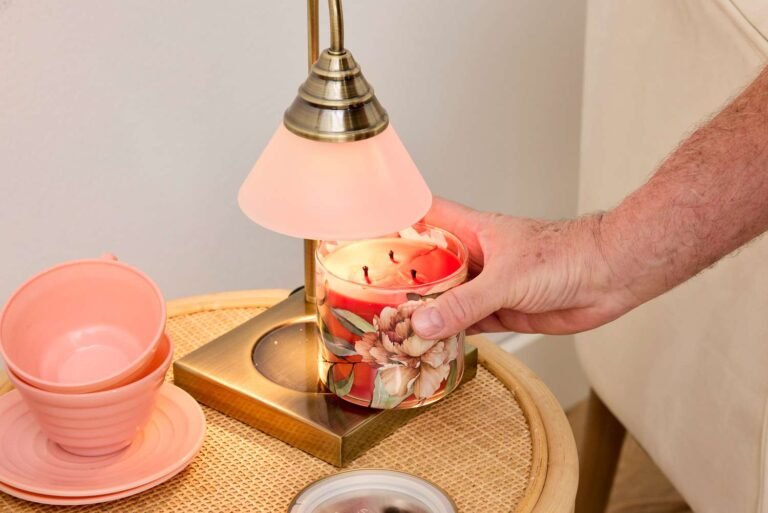
Set the candle on a level, nonflammable tray. The candle jar should stand upright and remain centered under the lamp.
Do not use a candle that has:
- A cracked or chipped jar
- A loose base
- A damaged wick holder
- A metal container that becomes extremely hot
- Wax spilled down the outside
- A lid, label, or decoration that could heat up
Keep the candle away from curtains, books, bedding, plants, and other items that could catch fire or melt.
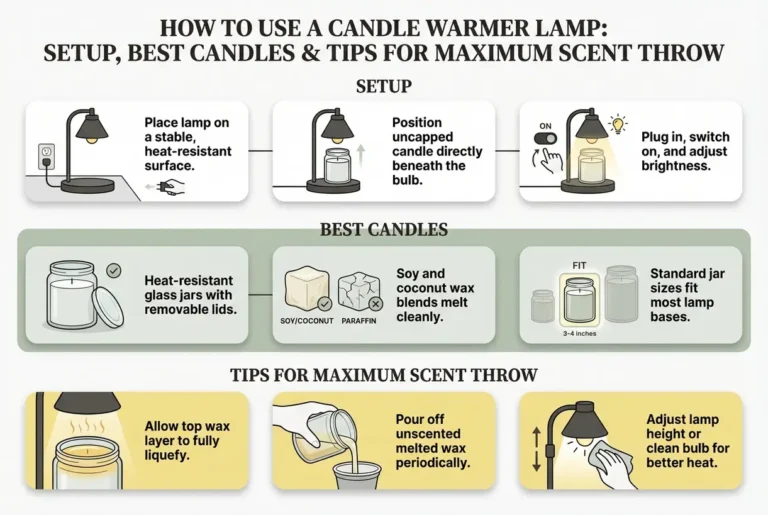
5. Position the lamp above the candle
Place the lamp so the bulb points straight down at the center of the candle. Start with a generous gap between the bulb and the jar.
There is no universal safe distance because bulbs, shades, candles, and lamp designs differ. Begin farther away, then lower the lamp in small steps while watching the candle and lamp for heat problems.
The bulb should never touch the jar, wax, lid, or tray.
6. Test the setup while you are present
Plug the lamp directly into a suitable wall outlet for the first test. Avoid using an extension cord unless it is necessary and properly rated.
Run the lamp for a short period while checking:
- Whether the wax begins to soften
- Whether the jar becomes excessively hot
- Whether the shade discolors
- Whether the socket or cord feels unusually hot
- Whether the lamp remains stable
- Whether the wax spills or overflows
Stop the test if you smell burning plastic, see smoke, notice sparking, hear buzzing, or see any discoloration.
7. Adjust for even melting
If the wax melts only in the center, move the lamp slightly higher or use a shade that spreads heat more evenly. If the wax remains solid, lower the lamp only if the lamp and candle remain safely separated.
A large candle may need more time or more even heat than a small candle. Do not solve slow melting by installing a stronger bulb than the lamp allows.
A successful setup creates a gradual melt pool without scorching the jar, overheating the cord, or causing wax to spill.

How a Candle Warmer Lamp Works
A candle warmer lamp uses radiant heat from the bulb to warm the wax from above. As the wax melts, fragrance oil mixed into the wax can evaporate into the room without burning the wick.
This differs from a traditional candle:
- A traditional candle uses a flame.
- A warmer lamp uses heat from a bulb.
- A warmer does not create soot from a candle flame.
- The wick is not burned during normal use.
- The wax and jar can still become hot.
The lamp does not make the candle last forever. Fragrance can fade after repeated heating, and the wax may eventually lose much of its scent even though some wax remains.
A candle warmer lamp also does not remove all household risks. The bulb is an electrical heat source, and melted wax can burn skin or damage furniture.
Candle Warmer Lamp Safety Rules
The most important rule is simple: treat the setup like a small heating appliance, not a decorative night-light.
Use a stable, heat-resistant setup
Place the lamp on a solid surface that will not tip. Keep the cord away from the bulb, shade, melted wax, and walking paths.
Do not place the lamp on:
- A bed
- A sofa
- A pile of clothing
- A paper-covered desk
- An unstable shelf
- A surface exposed to water
Never leave it running unattended
Turn the lamp off when you leave the room, go to sleep, or cannot see it. A timer can reduce the chance of forgetting, but it does not replace supervision.
A timer or smart plug should be compatible with the lamp’s electrical load. Do not assume that every smart plug is suitable for a hot appliance.
Keep children and pets away
The jar, wax, shade, and bulb may become hot enough to cause injury. Place the warmer where children and pets cannot knock it over or touch it.
Do not move the candle while the wax is liquid
Melted wax can spill quickly. Let the wax cool and solidify before moving the jar.
If wax spills, unplug the lamp first. Allow the wax and nearby surfaces to cool before cleaning.
Use a glass jar made for candles
Do not heat drinking glasses, thin decorative jars, or containers that were not designed for hot wax. A container may crack when exposed to uneven heat.
Never place a lid over the candle while the lamp is operating. A lid can trap heat and may become dangerously hot.
Stop using the lamp if anything looks wrong
Unplug the lamp if you notice:
- Smoke
- Sparking
- Burning odor
- A hot or discolored plug
- A melting socket
- Cracks in the candle jar
- A flickering bulb caused by a loose connection
- Wax leaking from the candle
- A shade that changes color
- A cord that becomes unusually warm
If a hot electrical device is smoking or sparking, do not pour water on it. If it is safe to do so, unplug it and move away. Contact emergency services if a fire starts.

Candle Warmer Lamp Distance and Heat Guide
Start with more distance and adjust slowly. The correct position depends on the bulb type, wattage, shade, candle size, and room airflow.
| Result | Likely cause | Safer adjustment |
|---|---|---|
| Wax does not soften | Lamp is too far away or bulb produces little heat | Check bulb type and lower the lamp slightly |
| Wax melts only in the center | Heat is too focused | Raise the lamp or use a wider shade |
| Jar becomes very hot | Lamp is too close or bulb is too strong | Turn it off and increase the distance |
| Wax spills over the rim | Candle is too full or heat is uneven | Stop heating and let it cool |
| Lamp smells hot | Socket, cord, shade, or bulb may be overheating | Unplug it and inspect the setup |
| Candle takes a long time to melt | Large candle or low heat output | Allow more time; never exceed the lamp rating |
| Bulb burns out quickly | Excess heat, vibration, or wrong bulb | Check the socket rating and ventilation |
Do not use touch alone to judge temperature. A surface may feel acceptable for a moment and become hotter over time. Watch the setup during the full test period.

Troubleshooting a Homemade Candle Warmer Lamp
The wax will not melt
First, verify that the bulb produces heat. Many LED bulbs emit too little heat for this task.
Then check:
- The bulb wattage matches the lamp.
- The lamp is plugged in.
- The bulb is centered over the candle.
- The lamp is not too far away.
- The candle is not unusually large or dense.
- The shade is not blocking most of the heat.
If the lamp still does not warm the wax, use a purpose-built candle warmer instead of adding a stronger bulb.
The jar gets too hot
Turn the lamp off and let the jar cool. Move the lamp higher before testing again.
A candle jar that becomes very hot may crack, damage the surface below it, or cause a burn. Do not keep using the setup simply because the wax melts quickly.
The wax melts unevenly
Uneven melting often comes from a narrow beam of heat or poor alignment. Center the lamp and raise it slightly.
A wider shade may spread heat over more of the candle. Do not place a metal object on top of the jar to spread heat, because it may become dangerously hot or fall.
The lamp smells like burning plastic
Unplug it at once. Inspect the socket, cord, shade, plug, and nearby materials after everything cools.
The smell may come from overheated plastic, dust, a damaged cord, or a material too close to the bulb. Do not use the lamp again until the cause is identified and corrected.
The bulb keeps burning out
Check whether the bulb is approved for the socket and whether the lamp has enough ventilation. Excess heat can shorten bulb life.
Also check for vibration, a loose socket, or a dimmer that is not compatible with the bulb. If the lamp has an enclosed shade, use only a bulb approved for enclosed fixtures.

DIY Candle Warmer Lamp vs. Buying One
A DIY setup may cost less if you already own a suitable desk lamp. It can also let you control the height, shade, and appearance.
A commercial candle warmer lamp is often the better choice when you want:
- A built-in timer
- A stable candle platform
- Adjustable height
- A purpose-designed shade
- A cleaner appearance
- Fewer electrical modifications
- A setup made specifically for melting wax
The main trade-off is control versus simplicity. A DIY lamp gives you more flexibility but places more responsibility on you to confirm heat clearance, bulb compatibility, stability, and safe operation.
Do not modify a product’s wiring just to make it work as a candle warmer. If the lamp lacks the needed features, choose another lamp or buy a purpose-built warmer.

Common Mistakes to Avoid
Avoid these mistakes when making or using a candle warmer lamp:
- Using an LED bulb and expecting strong heat
- Installing a bulb above the socket’s wattage limit
- Covering the lamp with fabric or paper
- Putting the bulb directly against the candle jar
- Using a cracked or thin glass container
- Leaving the lamp on while sleeping
- Placing the setup near curtains or bedding
- Using a damaged extension cord
- Moving the candle while the wax is liquid
- Adding foil or metal parts to redirect heat
- Blocking ventilation around the socket
- Treating a timer as a replacement for supervision
- Rewiring a lamp without the required electrical skill
- Using a candle warmer near water or in a damp room
The most serious mistake is trying to increase heat by using a larger bulb. A faster melt is not worth an overheated socket, cracked jar, or damaged surface.

Frequently Asked Questions
Can I use an LED bulb for a candle warmer lamp?
Usually, no. Most LED bulbs are designed to produce light with little heat. A candle warmer normally needs a bulb that provides controlled heat, such as a compatible incandescent or halogen bulb. Always follow the lamp maker’s bulb and wattage instructions.
Can I leave a candle warmer lamp on overnight?
No. Turn it off before sleeping or leaving the room. Use a timer only as an added safeguard, not as permission to operate the lamp without supervision.
Is a candle warmer safer than burning a candle?
It removes the open flame, which can reduce risks linked to a burning wick. However, the lamp still contains a hot bulb and can heat wax and glass. It must be used on a stable surface and kept away from flammable items.
Can I use any candle jar with a warmer lamp?
No. Use a candle in a sound container made to hold hot wax. Avoid cracked, chipped, thin, or decorative containers that were not designed for heating.
How long does it take for a candle warmer lamp to melt wax?
The time varies with the candle size, wax blend, bulb, shade, and distance. Begin with a short supervised test. If the wax does not soften, check the bulb and alignment before changing the wattage.
Can I build the lamp with loose electrical parts?
That is not a good beginner project. Household electrical work can cause shock and fire when wiring, insulation, grounding, strain relief, or heat ratings are wrong. Use a complete lamp or have electrical work done by a qualified professional.

Final Recommendation
To make a candle warmer lamp safely, start with a complete, stable lamp that is suitable for a heat-producing bulb. Use the correct bulb, a heat-resistant shade, a sound candle jar, and a nonflammable surface. Test the lamp while you are present, keep the bulb away from the jar, and stop immediately if you notice smoke, burning smells, sparking, or excessive heat.
For the lowest-risk option, buy a candle warmer lamp designed for this purpose. For a DIY setup, avoid electrical rewiring and focus on safe positioning, proper bulb ratings, ventilation, and constant supervision.
One Comment